GitHub OAuth第三方登录示例教程(Node后端)
很多网站登录时,允许使用第三方网站的身份,这称为"第三方登录"。
1.第三方登录的原理
所谓第三方登录,实质就是 OAuth 授权。用户想要登录 A 网站,A 网站让用户提供第三方网站的数据,证明自己的身份。获取第三方网站的身份数据,就需要 OAuth 授权。
举例来说,A 网站允许 GitHub 登录,背后就是下面的流程。
A网站让用户跳转到GitHub。GitHub要求用户登录,然后询问"A 网站要求获得 xx 权限,你是否同意?"- 用户同意,
GitHub就会重定向回 A 网站,同时发回一个授权码。- A 网站使用授权码,向
GitHub请求令牌。GitHub返回令牌.- A 网站使用令牌,向
GitHub请求用户数据。
2.创建应用
详细⬇️
进入
Github⬇️点击头像 ➡️
Settings左侧侧边栏最底下➡️
Developer settings左侧侧边栏第二个➡️
OAuth Apps右侧内容区➡️
New OAuth App填写相关信息
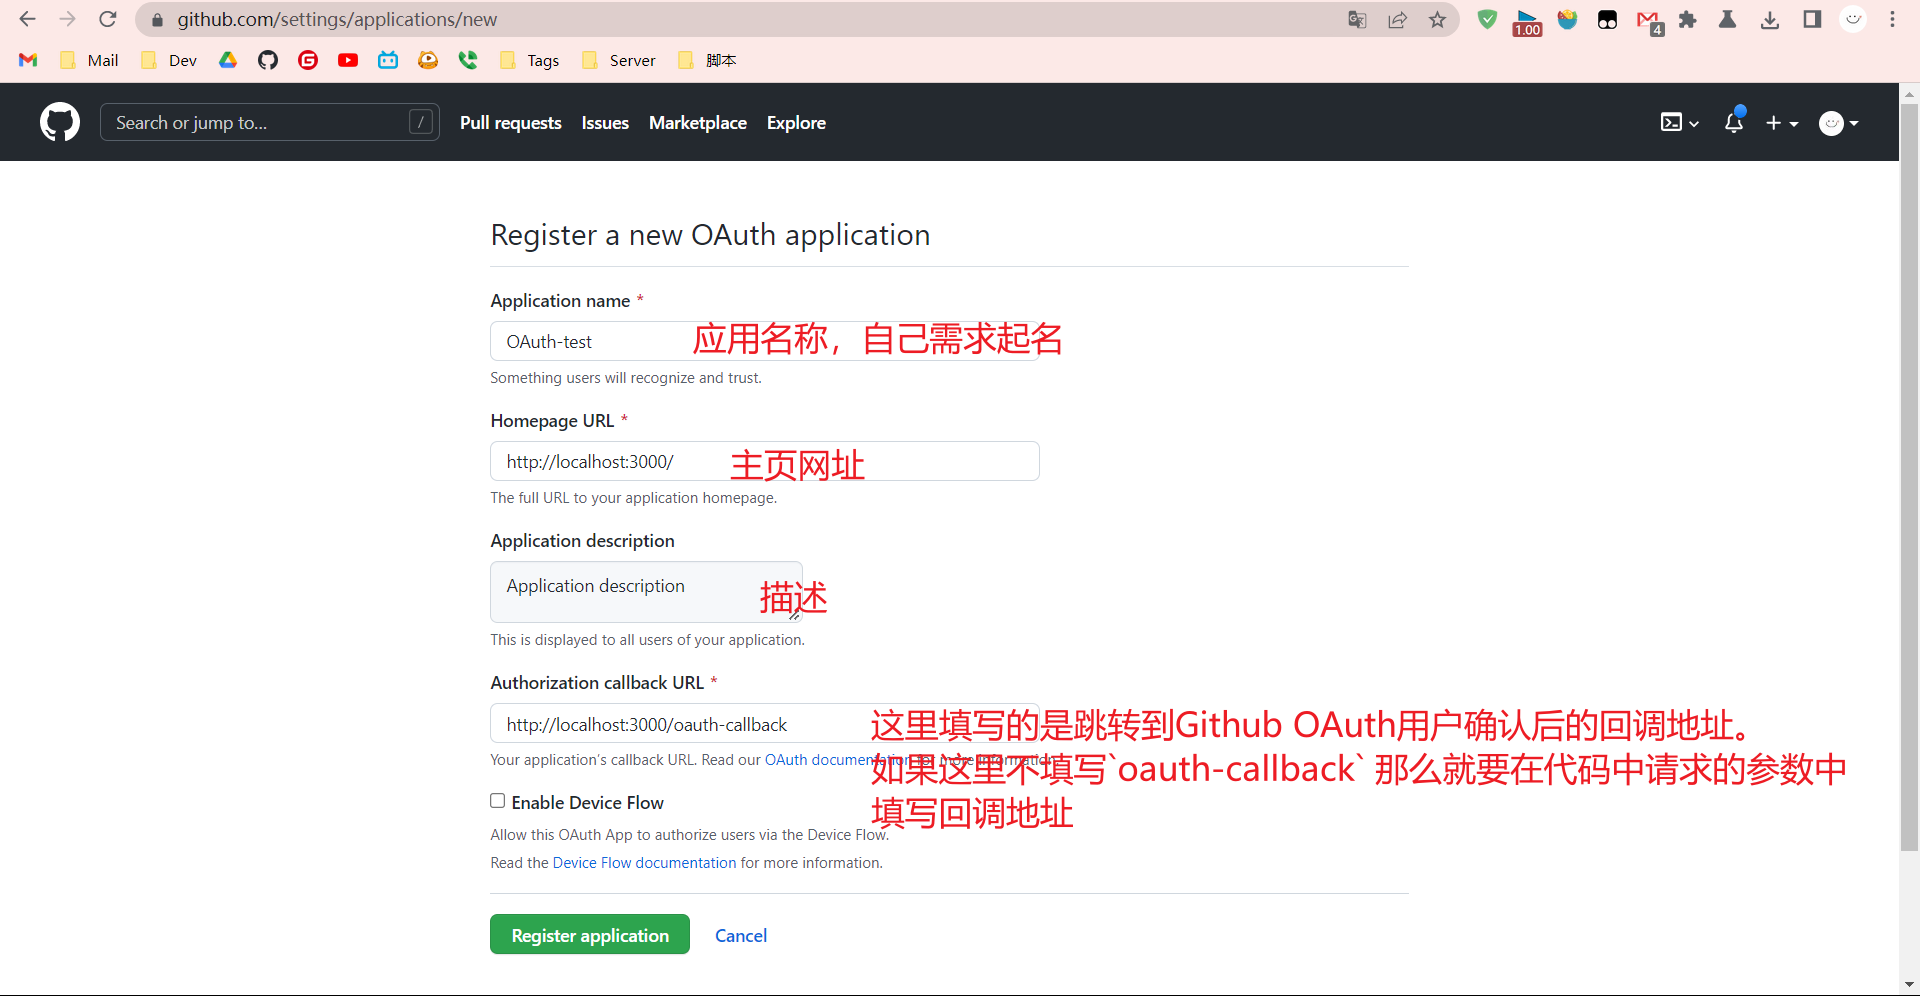
点击注册应用后,生成一个
Client secrets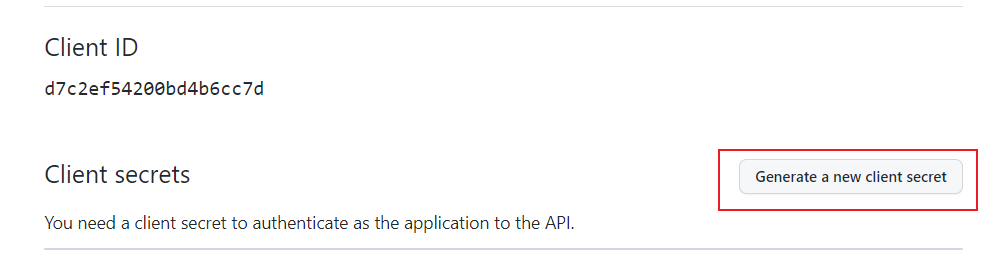
只会出现一次
Client secrets,自己保存好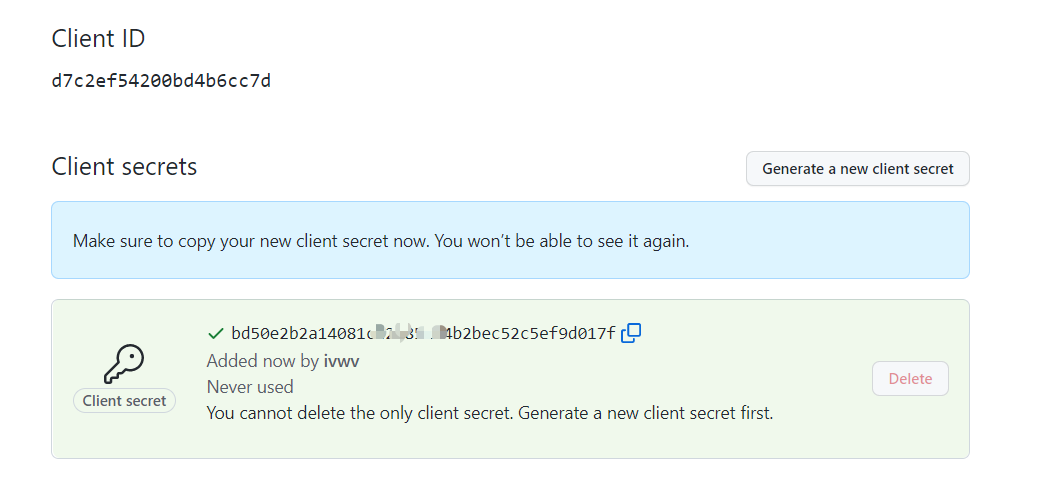
3. 示例仓库
我写了一个代码仓库,请将它克隆到本地。
git clone https://github.com/ivwv/GitHub-OAuth-Demo.git
cd GitHub-OAuth-Demo
在app.js中写入自己的自己的clientId和clientSecret
const clientId = "YOUR_CLIENT_ID";
const clientSecret = "YOUR_CLIENT_SECRET";
安装依赖并启动服务
npm install
node app.js
浏览器访问http://localhost:3000,就可以看到这个示例了。
4.浏览器跳转 GitHub
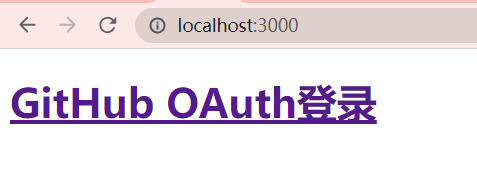
示例的首页很简单,就是一个链接,让用户跳转到
GitHub。
跳转的URL为:
<h1>
  <a href="/github-login">GitHub OAuth登录</a>
</h1>
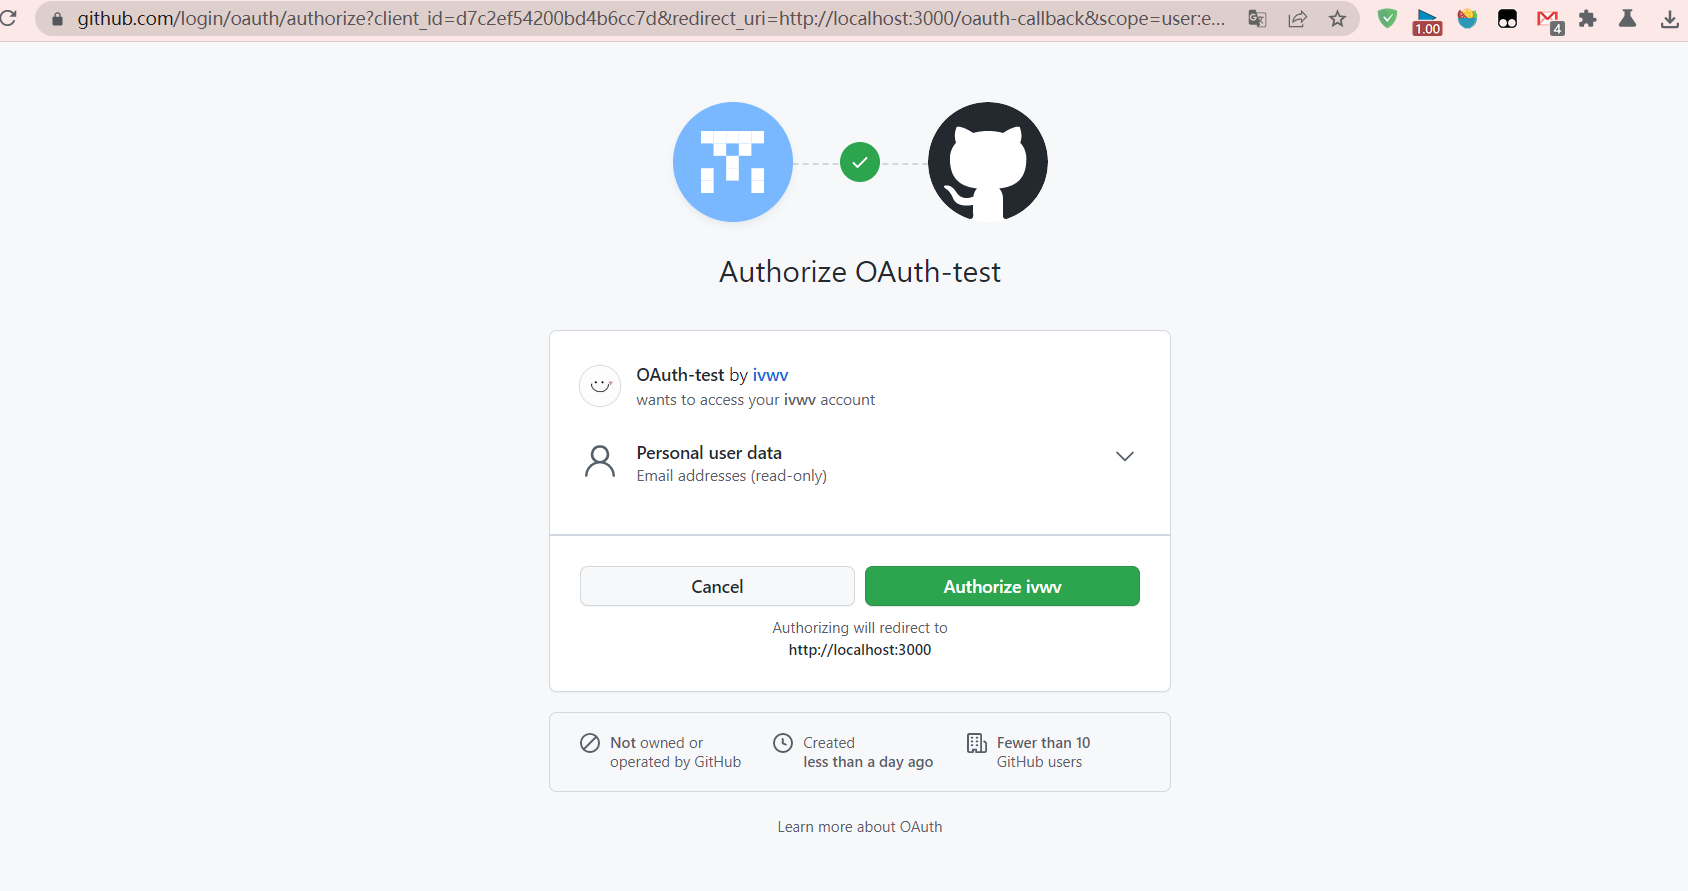
- 请求路径为
https://github.com/login/oauth/authorize - 请求参数为:
client_id,redirect_uri,scope。更多参数点击查看Github Docs client_id是必须的redirect_uri是可选的,- 不填的前提是在创建应用时添加了完整了回调地址
- 否者这里就要添加回调地址参数
// 登录跳转是通过这个
app.get("/github-login", (req, res) => {
  res.redirect(
    `https://github.com/login/oauth/authorize?client_id=${clientId}&redirect_uri=http://localhost:3000/oauth-callback&scope=user:email`
  );
});
最后跳转到这个地址
https://github.com/login/oauth/authorize?client_id=d7c2ef54200bd4b6cc7d&redirect_uri=http://localhost:3000/oauth-callback&scope=user:email
5.用户授权
用户确定授权
用户确定授权后,会跳转到自己创建的回调地址,我们可以在回调地址内填写自己需要的相关操作
app.get("/oauth-callback", async (req, res) => {})
1.获取access_token
在
/oauth-callback路由内发送请求获取access_token⬇️
const body = {
    client_id: clientId, // 必须
    client_secret: clientSecret, // 必须
    code: req.query.code, // 必须,这个不用我们填写,当授权跳转后,会在/oauth-callback 自动添加code
  };
const opts = { headers: { accept: "application/json" } };
const response = await axios.post(
  `https://github.com/login/oauth/access_token`,
   body,
   opts
);
console.log(response.data);
输出如下内容
{
  access_token: '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',
  token_type: 'bearer',
  scope: 'user:email'
}
access_token保存起来,后面的请求都需要添加 headers->Authorization
2.获取用户信息
同样,接下来在
/oauth-callback路由内发送请求获取相关用户信息⬇️
const token = await response.data["access_token"];
  const userinfo = await axios.get(`https://api.github.com/user`, {
    headers: {
      // 在请求头中添加 Authorization 字段
      Authorization: `token ${token}`,
    },
  });
  console.log(userinfo.data);
打印输出⬇️
{
  login: 'ivwv',
  id: 99484154,
  node_id: 'U_kggsBedw0NA',
  avatar_url: 'https://avatars.githubusercontent.com/u/99464244?v=4',
  gravatar_id: '',
  url: 'https://api.github.com/users/ivwv',
  html_url: 'https://github.com/ivwv',
  followers_url: 'https://api.github.com/users/ivwv/followers',
  following_url: 'https://api.github.com/users/ivwv/following{/other_user}',
  gists_url: 'https://api.github.com/users/ivwv/gists{/gist_id}',
  starred_url: 'https://api.github.com/users/ivwv/starred{/owner}{/repo}',
  subscriptions_url: 'https://api.github.com/users/ivwv/subscriptions',
  organizations_url: 'https://api.github.com/users/ivwv/orgs',
  repos_url: 'https://api.github.com/users/ivwv/repos',
  events_url: 'https://api.github.com/users/ivwv/events{/privacy}',
  received_events_url: 'https://api.github.com/users/ivwv/received_events',
  type: 'User',
  site_admin: false,
  name: 'ivwv',
  company: null,
  blog: '',
  location: null,
  email: null,
  hireable: null,
  bio: null,
  twitter_username: null,
  public_repos: 20,
  public_gists: 1,
  followers: 2,
  following: 9,
  created_at: '2022-02-11T05:37:25Z',
  updated_at: '2022-07-28T13:44:24Z'
}
到这里相关信息就出来了,可以看到用户名,头像链接.
但是可以看到
null好像是因为用户没有将邮箱公开
其实也可以获取,请往下看⬇️
3.获取用户邮箱
如果不需要用户邮箱,可以忽略这一步
在上面两个请求后面,添加如下内容
const emailinfo = await axios({
    method: "get",
    url: "https://api.github.com/user/emails",
    headers: {
      Accept: "application/vnd.github+json",
      Authorization: `token ${token}`,
    },
  });
  console.log(emailinfo.data);
打印输出
[
  {
    email: 's.y18959889840@gmail.com',
    primary: true,  // primary为tuer表示该用户主要登录邮箱,false则为辅助邮箱
    verified: true,
    visibility: 'private'   // 这里为private表示在上一个请求的email为null,如果是public这上一个请求可以展示邮箱
  },
  {
    email: '99464244+ivwv@users.noreply.github.com',
    primary: false,
    verified: true,
    visibility: null
  },
  {
    email: '1834605378@qq.com',
    primary: false,
    verified: true,
    visibility: null
  }
]
6.完成授权
接下来就是在路由内继续添加自己的需求,可以是将用户信息保存在数据库
// TODO: 将用户信息和邮箱信息保存到数据库中
  // ...

  // 验证成功,跳转到首页
  res.redirect(`/index.html`);
友情提示
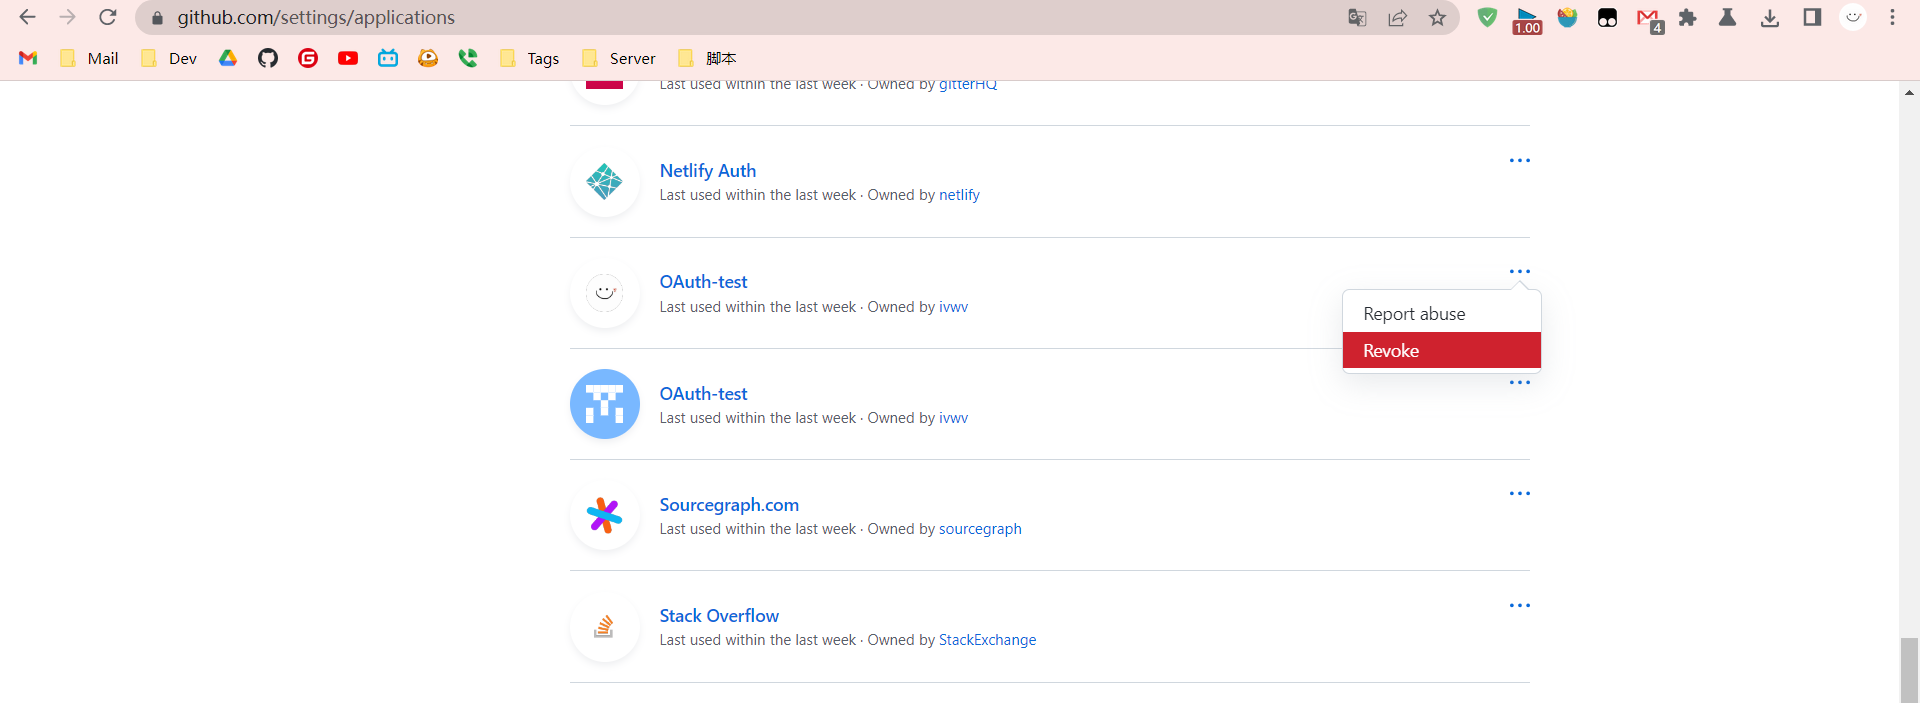
当点击授权后,
Github以及将你本次的登录状态保存,下一次再测试将不会经过你授权需要进入应用管理 将状态移除,再执行授权